Resize first, then sharpen
Shrinking a 4,000 px photo to 1,200 px softens it a little. Resize to the size people will see, then open that file here, so you judge the strength at the size people will see.
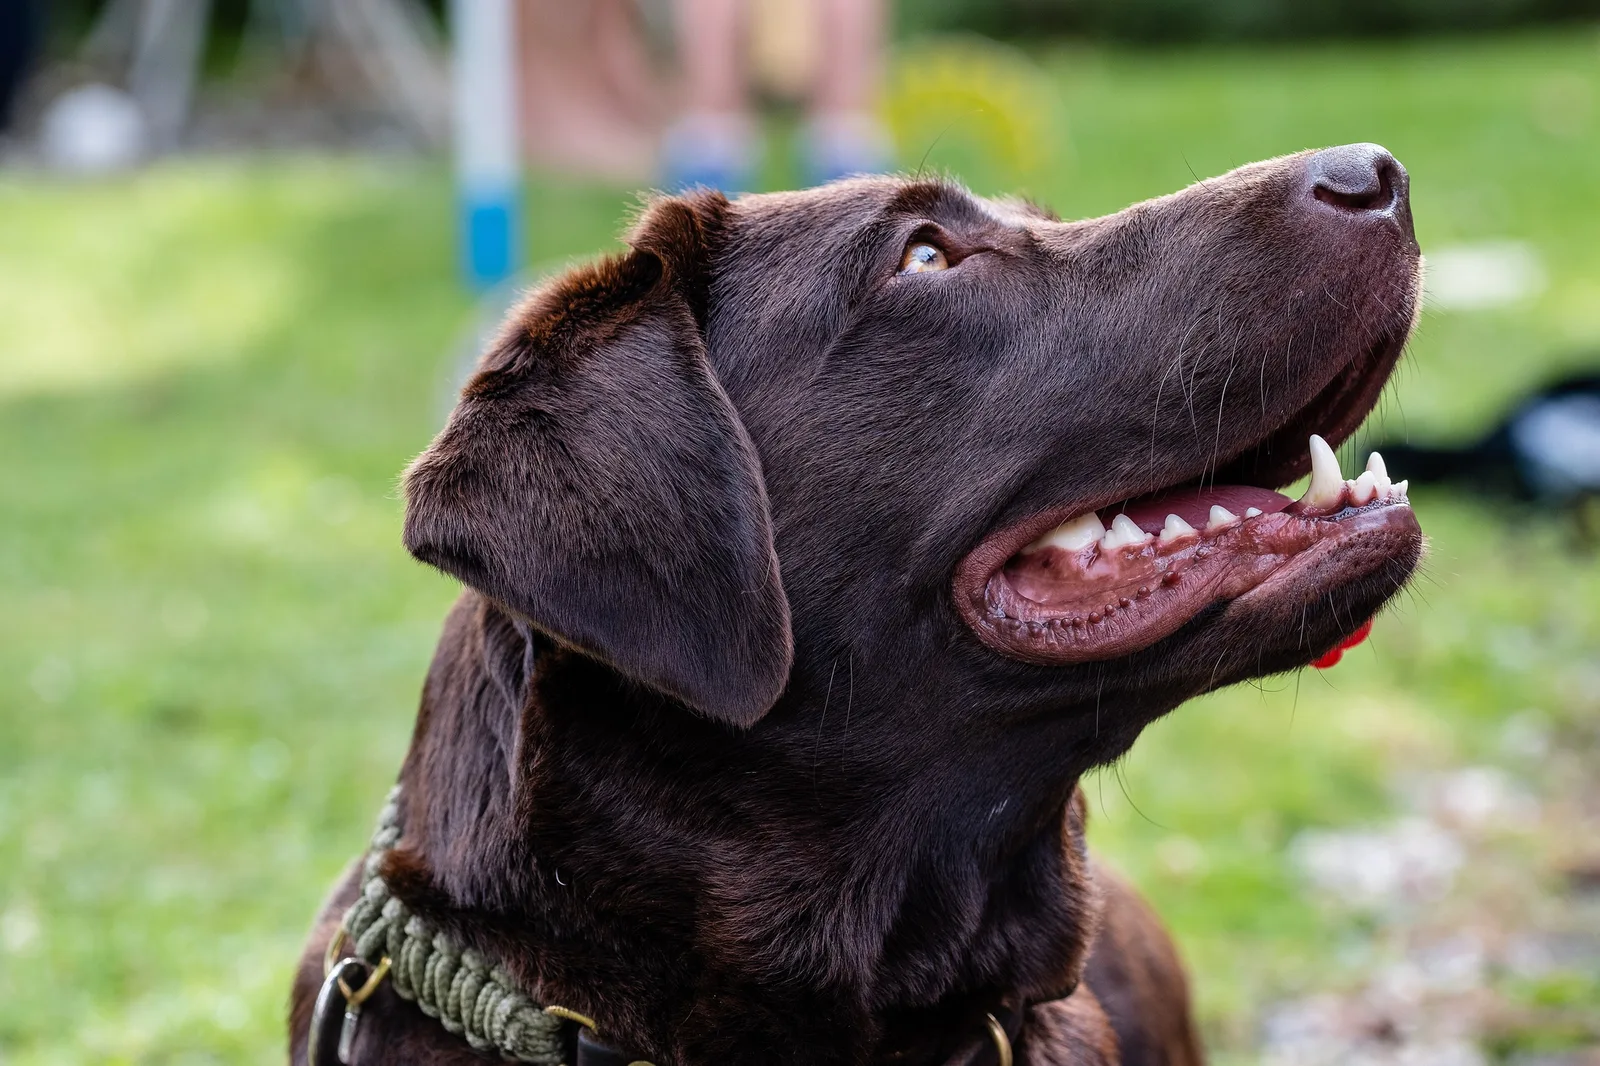
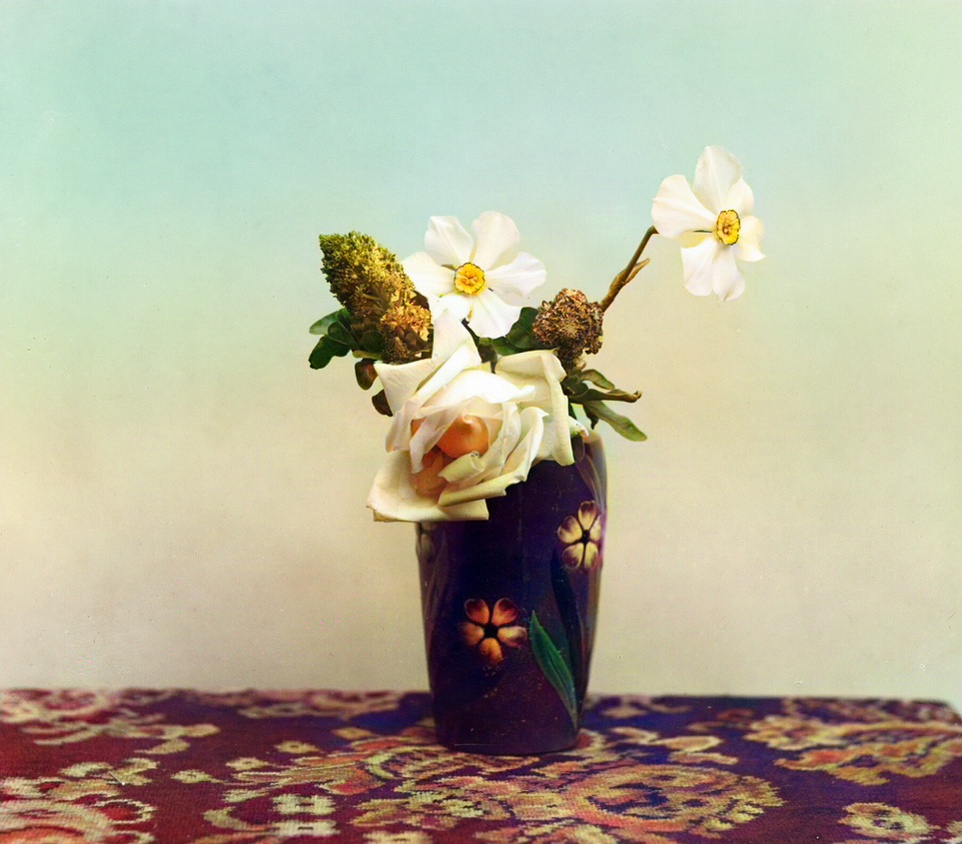
Each row is one photo cropped at 100% and run through this page’s own sharpener at strength 0, 60 and 100. The night market, the dish and the receipt are clean photos softened with a 1.1 px blur, which gives the sharpener something to work on. The 1900s market is the scan as it came.
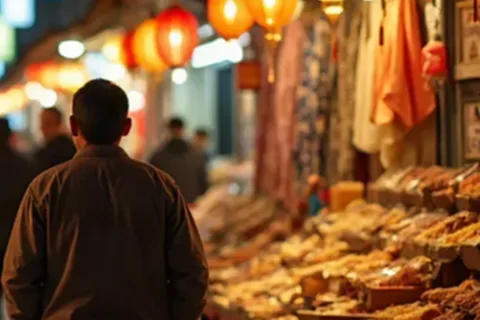
A slightly soft phone shot. Edge contrast rises 3% at 60 and 10% at 100, a gentle change, and white outlines barely show before 100.
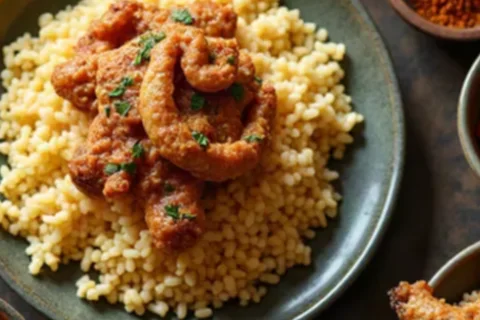
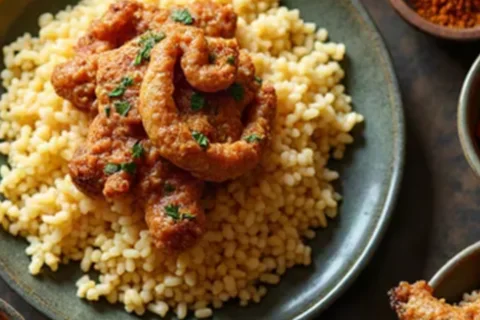
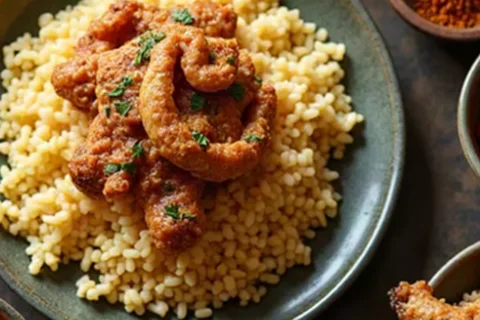
Fine texture such as grain and crumb responds well: edge contrast +5% at 60 and +14% at 100, with halos beginning near 80.
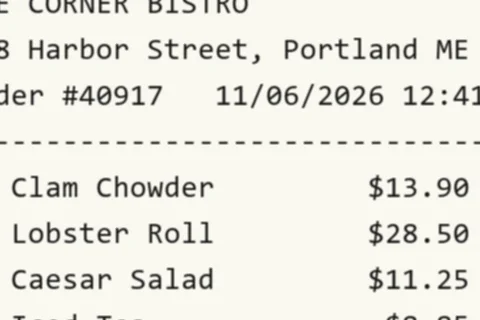
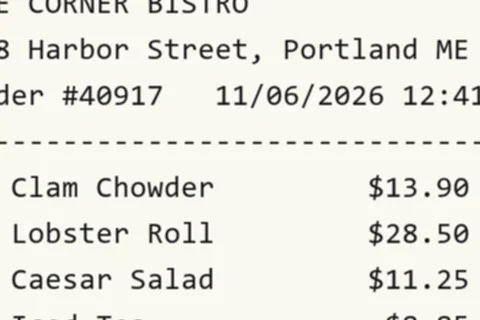
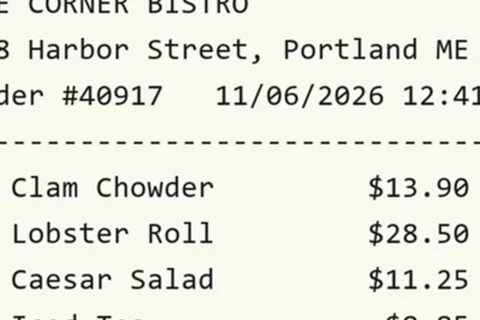
Text edges react fastest: +9% at 60 and +21% at 100, and halos begin near 50. Letters turn darker and crisper; keep this one low.
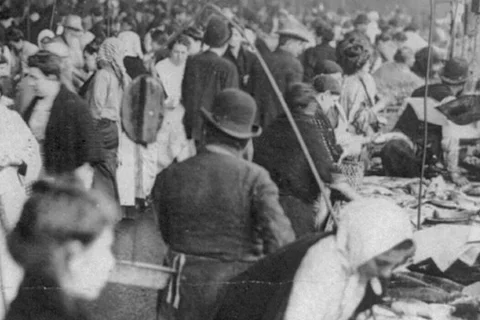
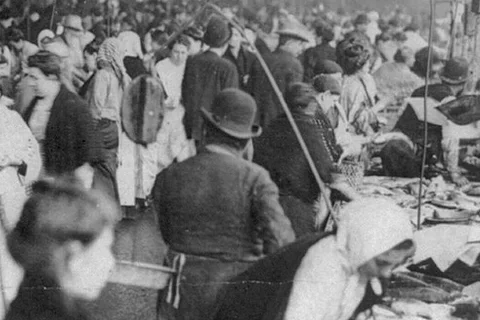
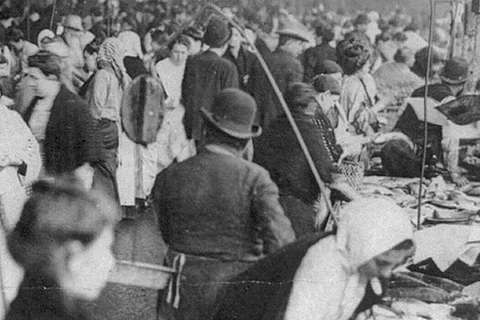
Paper grain is lifted along with the picture: +13% at 60 and +33% at 100, with halos beginning near 70.
| Photo | Edge contrast at 60 | Halos begin near | Start at |
|---|---|---|---|
| Phone photo | +3% | 100 | 60 |
| Product shot | +5% | 80 | 60 |
| Scan or screenshot | +9% | 50 | 30 |
| Old print | +13% | 70 | 50 |
How we measured: each photo at 1000 px wide, sharpened in steps of 10 with this page’s own sharpener. Edge contrast is how much stronger edges look than at strength 0; outlines count once about 1 in 1,000 pixels turns visibly brighter or darker than its surroundings. “Start at” is 20 points before that, never above 60. Your photo will differ, so treat the table as a starting point.
Let go of the slider where it looks best. Your pick then sits next to strength 0 at 400%.
Pick a JPG, PNG or WebP, or paste one. It stays in this browser tab.
Raise it until edges look clear. Hair, lettering and fabric edges show it first.
Zoom in to about 400% and look for halos and grit. Then return to the size people will actually view, and lower the strength if outlines show.
PNG and WebP save in their own format; JPEG saves at high quality.
Shrinking a 4,000 px photo to 1,200 px softens it a little. Resize to the size people will see, then open that file here, so you judge the strength at the size people will see.
Social apps recompress every photo you upload, which adds small blocks along edges, and a high setting exaggerates them. Use the start value from the table, check the result at 100% zoom, and save a PNG or high-quality JPEG so the app only compresses it once.
Ink spreads on paper and softens edges, so a print can take a few points more than a screen. On a screen, stop where the photo still looks natural at 100% zoom.
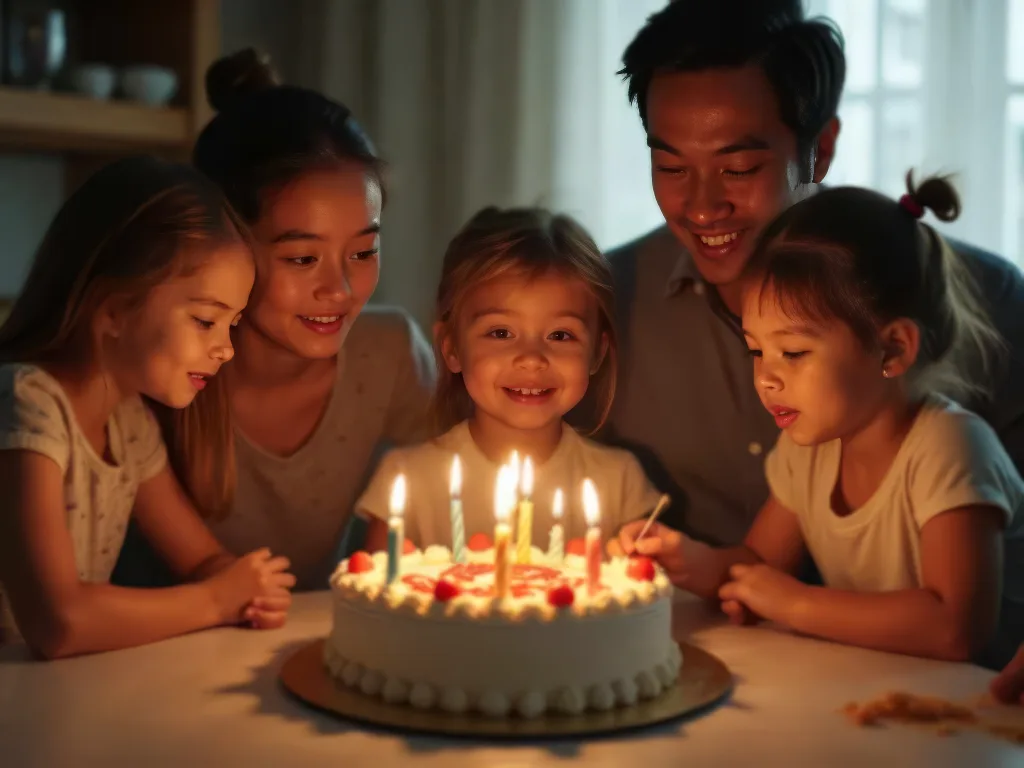
That phone photo of your kid, a little soft: a gentle pass brings hair, fabric and small edges forward. Start low and check the eyes and hair, then zoom out to make sure skin still looks natural. A dark wall can turn grainy as the strength goes up. What looks dramatic at 400% can feel harsh at normal size, so judge it at the size you will share.
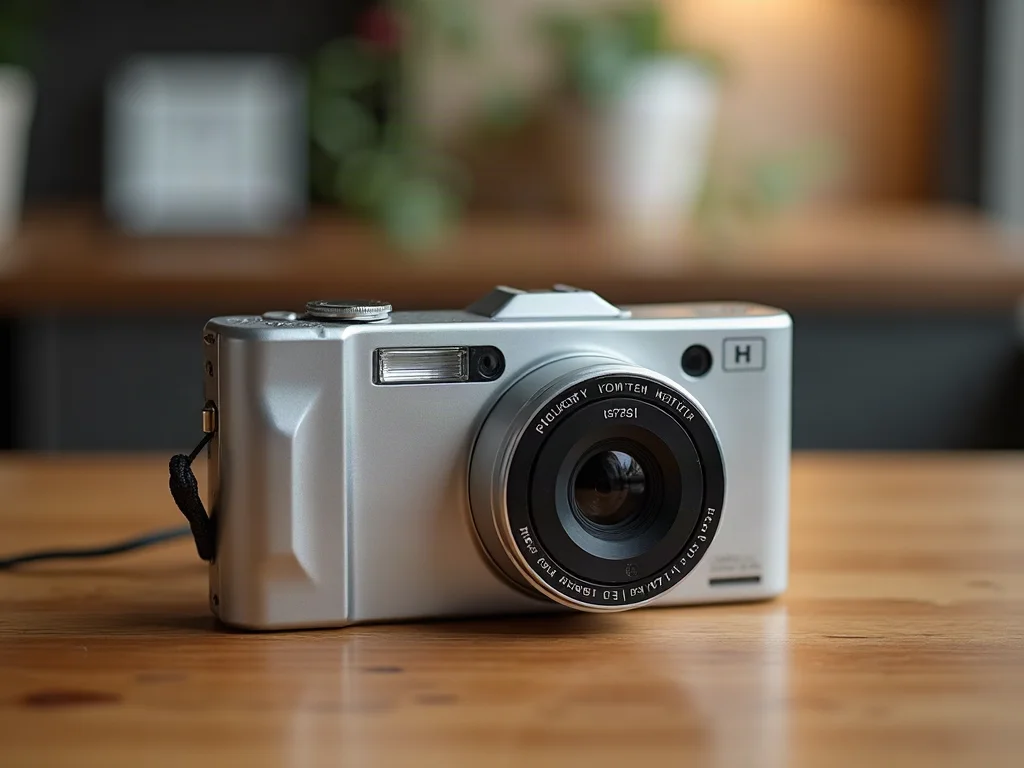
Selling a jacket, a lamp or a pair of boots? Clear seams, labels and texture help buyers inspect the item. Use a modest setting, and if a bright halo shows along a dark edge, lower the strength a few steps. Check small lettering, stitching and the outline, so the photo stays true to the item and buyers get what they see.
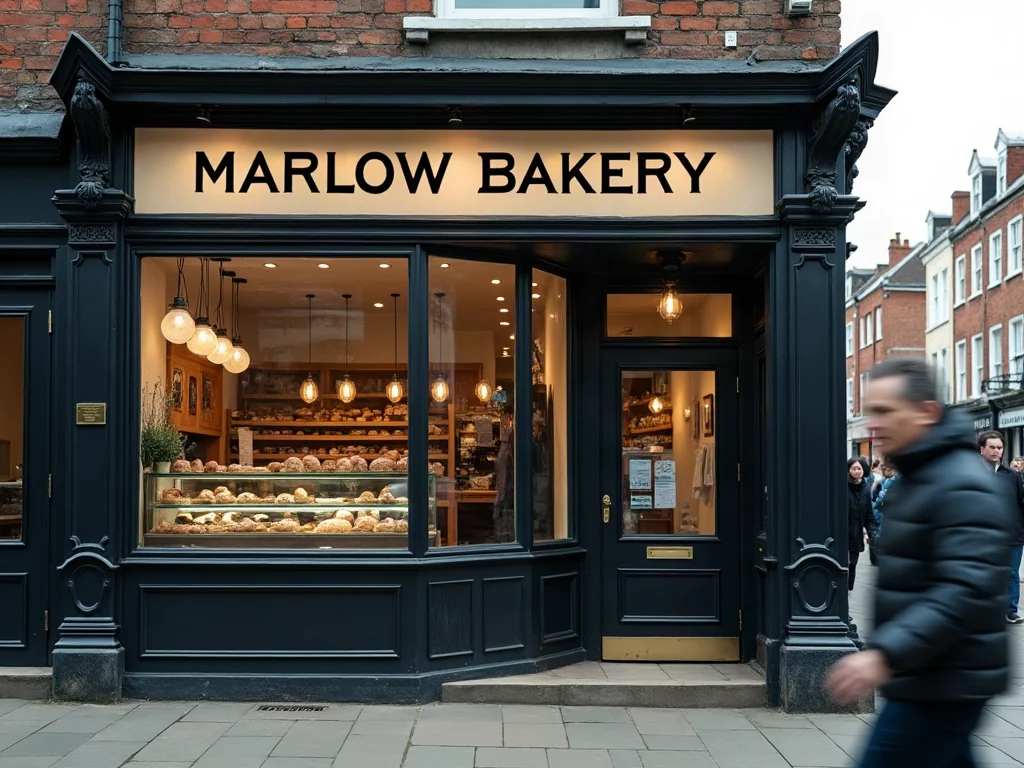
A scanned letter, a recipe screenshot, a page of line art: lettering has clean edges, so a little sharpening makes it easier to read on a phone. Stop when strokes start to look doubled, or when the holes in letters like e and o begin to fill in. If a screenshot was enlarged after you took it, the lost detail won’t come back. Sharpening can only crisp up the edges that are still there.
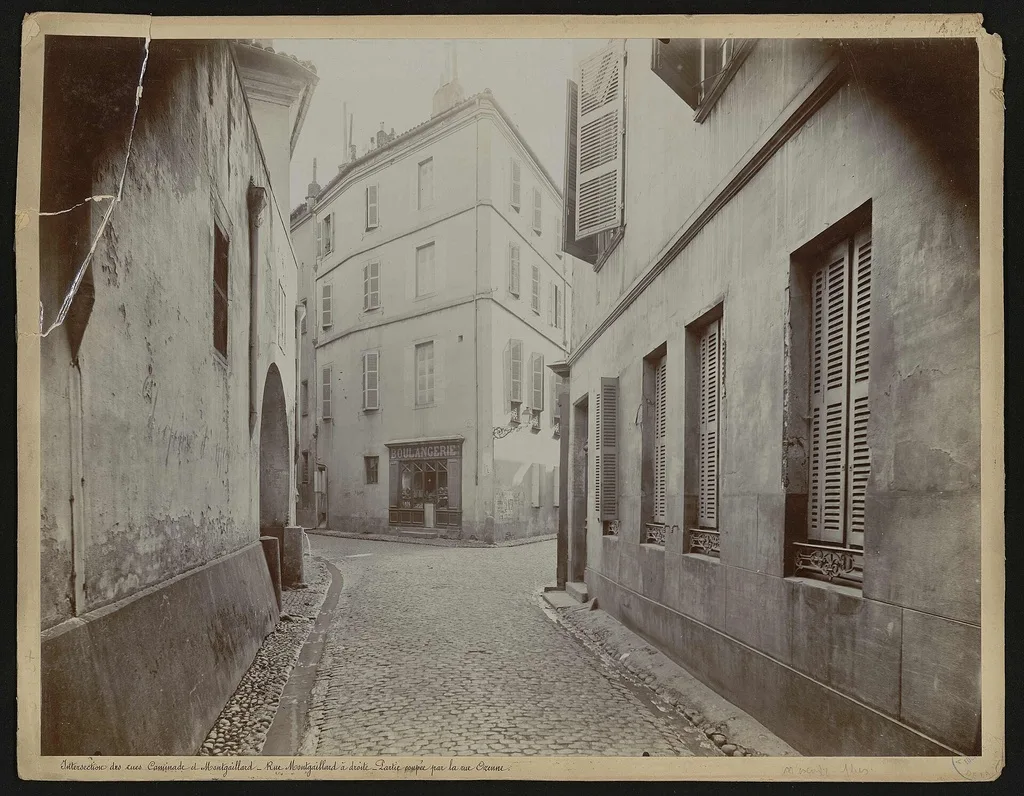
An old family print needs a light touch: paper fibre, creases and film grain get lifted along with the picture. Go in small steps and compare at 400%. For a truly blurred print, sharpening is only a finishing pass: AI Unblur works on the blur itself, and Colorize adds colour to a black-and-white print.
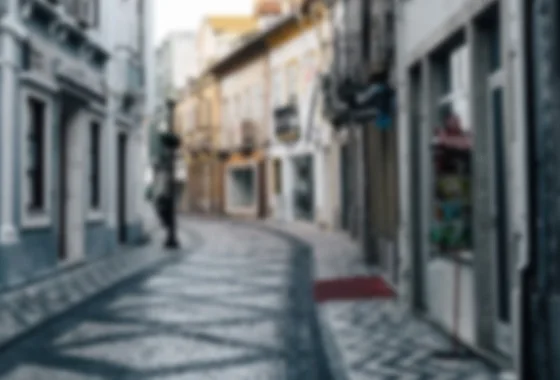
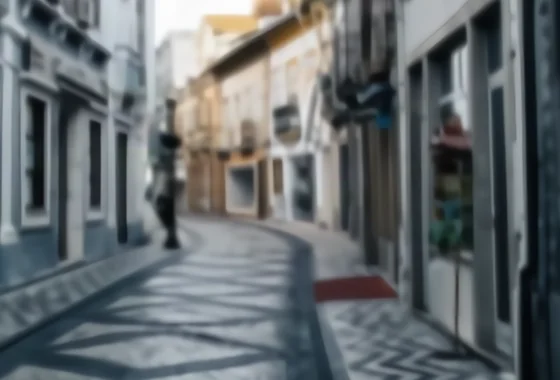
On the street above, Sharpen at 100 leaves the paving and window frames as soft as they were, while AI Unblur makes them distinct again. That is the test: if edges stay soft at a reasonable setting, move to AI Unblur. Very small faces and heavy motion can still lose detail, and the result tells you when it could not recover them.
A sharpener raises contrast along edges, so hair, lettering, fabric and brick are easier to see; it cannot recover what the camera never captured. Raise the strength slowly from zero until an edge looks distinct, then zoom out and look at the whole picture.
A slider only adjusts contrast. It cannot tell a face from a letter, and if blur has erased an edge, a higher setting just adds roughness. Photos longer than 4096 pixels on the long edge are scaled down to 4096 before sharpening, and the page tells you when that happens.
| Your photo | Use | Why |
|---|---|---|
| Motion blur or missed focus | Unblur | Smeared detail needs a model. |
| A little soft | Sharpen | Edges still exist. Free, local. |
| Blocky, pixelated or tiny | Unpixelate | Enlarges and smooths blocks. |
| Black and white | Colorize | Adds color, keeps the grain. |
| Blurry and black and white | Unblur, then Colorize | Order matters: Unblur first. |
$0.50 a photo
Try a few photos
$0.25 a photo
Restore a family album
$0.16 a photo
A large collection
$0.15 a photo
An extensive archive
1 credit = 1 Standard photo · HD uses 3 · Restore uses 2
Prices in USD. Sales tax or VAT, where it applies, is added at checkout.
It depends on what you need, but a free sharpener should not upload your photo. Revivo Photo, an AI photo restoration tool, runs Sharpen in your browser with a strength slider and saves JPG, PNG or WebP in its own format. It cannot add detail a soft photo never had, so heavy blur needs Unblur.
No. Sharpening makes existing edges look crisper without changing the pixel count. Here you can compare the result with the original at 400% before you download. For a bigger photo, enlarge it with Unpixelate; that adds size, not detail the camera missed.
Only until hair, lettering and fabric edges look clear. Zoom to about 400% and look for white outlines or grit, then step back to the size people will view. If outlines show, go lower; a print can take slightly more than a screen.
Resize to the size people will see first, then sharpen, so you judge the strength at that size. Social apps re-encode uploads, and a high setting exaggerates the blocks they add; for print, ink softens edges, so a few points more than for a screen is usual. We cannot control how an app re-compresses your upload.
Open this page in your phone’s browser, choose the photo and drag the strength slider. It works in the browser, so there is nothing to install and the photo is not uploaded. If it stays soft at a sensible setting, the blur is too strong for sharpening and Unblur is the next step.
Choose a photo on this page, drag the strength slider until edges look crisp, then download it. It runs in your browser, needs no login and has no daily limit. Stop at the lowest setting that looks clear, because a higher one only adds halos.
No. Sharpening is calculated in your browser tab, so the photo never leaves your device and there is nothing on a server to delete. The download is a new file; your original is not changed. Uploading only happens if you choose AI Unblur, which runs on our servers.
The strength is too high. Sharpening raises contrast at every edge, including sensor noise and JPEG blocks, and that shows as halos and grit. Lower the strength until the outline disappears, checking at 400% and at normal size. A very noisy photo may never look fully clean.
No, not a badly blurred one. Sharpening boosts contrast along edges that still exist, so it suits slight softness. For heavy motion blur or missed focus, AI Unblur works on the blur itself, though some detail may not come back and the result says so.
Sharpen is a free edge-contrast pass that runs on your device; Unblur uses a model to estimate lost detail. Start with Sharpen, and if edges stay soft after a reasonable setting, move to Unblur. Both show your original next to the result, but only Unblur uploads the photo, and a model can guess wrong.
Yes, with care. Text edges respond quickly, so a low setting can improve legibility, and Sharpen never rewrites letters. It cannot rebuild missing ones, and too much doubles strokes or fills in the holes in letters like e and o.
It aims to keep the person looking like themselves, but cannot promise that for every photo. Faces are found first, and your original stays next to the result so you can compare. Very small faces (only a few dozen pixels) are left as they are, and the result says so.
You can try it free: 1 free photo a day without an account, and 3 free credits when you sign up. Paid credits: Starter is $9.90 for 40 credits a month, Pro is $29.90 for 200 and Archive is $49.90 for 500. No watermark. If a repair fails, the credits are refunded automatically.
Yes. JPG, PNG and WebP open and save in the same format, with JPEG exported at high quality. Photos longer than 4096 pixels on the long edge are scaled down to 4096 before sharpening, and the page tells you when that happens. If your browser runs out of memory, retry makes a smaller working copy.
Need AI for heavier blur? Sign in and this photo opens in Unblur
Take this photo to Unblur